Practical usage of JavaScript Set Object
-
 Hashan Hemachandra
 - 24 Mar, 2024
Tables are a staple in web development for displaying structured data. However, enhancing user interaction with tables, such as allowing row selection, can significantly improve the user experience. In this post, I’ll walk you through creating a selectable table in React using the Set object, showcasing the practical use of this JavaScript object. Here I will attach the Link to my Github repo of below code. You can run it locally and see the result.
Prerequisites
Before starting, ensure you have the following:
-
Basic understanding of React and JavaScript.
-
Node.js and npm installed.
-
A Next/React project set up. You can create one using Create React App by running npx create-react-app my-app. or npx create-next-app@latest
Step 1: Setting Up Our Data
First, we define our data array. Each object in the array represents a row in our table:
const data = [
    { id: 23423, name: "Alice", age: 28, city: "New York" },
    { id: 75675, name: "Bob", age: 34, city: "San Francisco" },
    { id: 63456, name: "Charlie", age: 22, city: "Los Angeles" },
    { id: 49675, name: "Diana", age: 45, city: "Chicago" },
    { id: 50757, name: "Evan", age: 30, city: "Miami" },
    { id: 64878, name: "Fiona", age: 29, city: "Seattle" },
  ];
Step 2: Rendering the Table
return (
    <div className="flex justify-center items-center h-screen">
      <table className="text-left w-3/4 border-collapse">
        <thead>
          <tr>
            <th className="p-4 bg-gray-100 border-b border-gray-200">
              <input className="form-checkbox h-5 w-5" type="checkbox" />
            </th>
            <th className="p-4 bg-gray-100 border-b border-gray-200">Name</th>
            <th className="p-4 bg-gray-100 border-b border-gray-200">Age</th>
            <th className="p-4 bg-gray-100 border-b border-gray-200">City</th>
          </tr>
        </thead>
        <tbody>
          {data.map((item) => (
            <tr key={item.id}>
              <td className="border px-4 py-2 text-gray-600">
                <input
                  type="checkbox"
                  value={item.id}
                  className="form-checkbox h-5 w-5"
                />
              </td>
              <td className="p-4 border-b border-gray-200">{item.name}</td>
              <td className="p-4 border-b border-gray-200">{item.age}</td>
              <td className="p-4 border-b border-gray-200">{item.city}</td>
            </tr>
          ))}
        </tbody>
      </table>
    </div>
  );
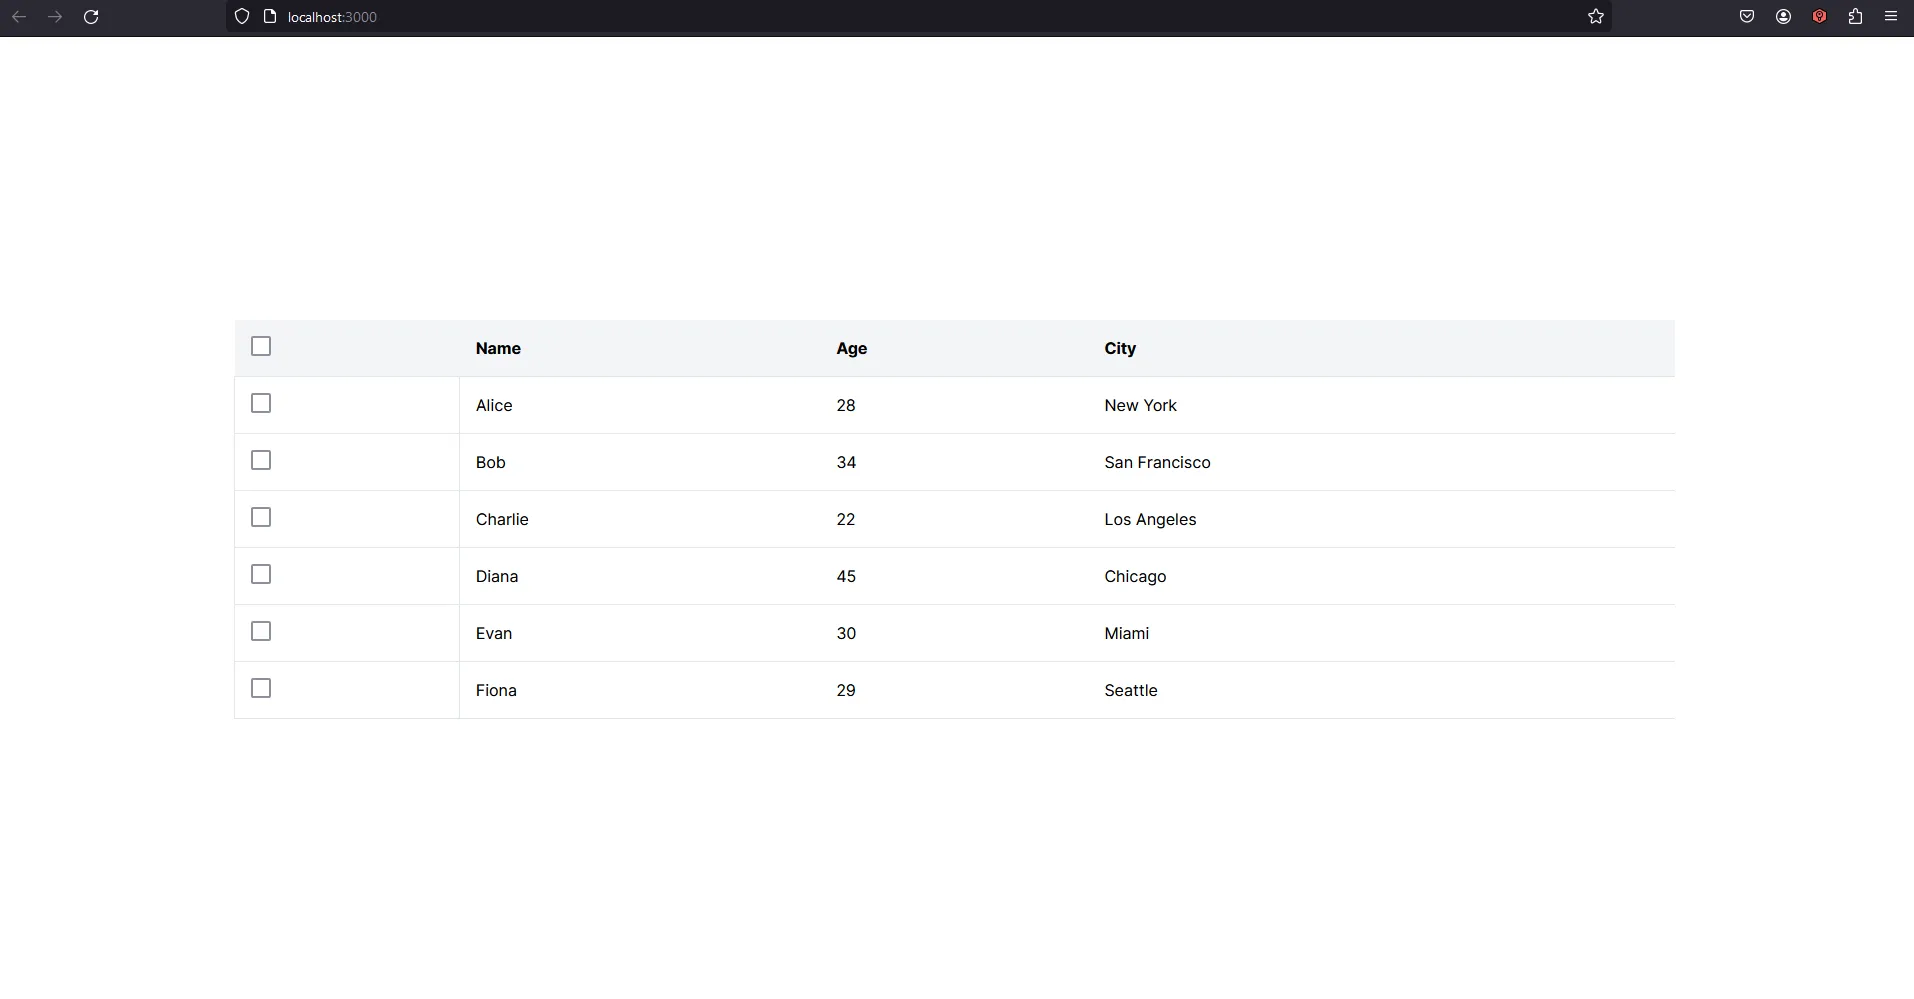
Table will be shown like below,
Deep Dive: Understanding the JavaScript Set Object
The JavaScript Set object is a collection of unique values. Unlike an array, a Set ensures that each value can appear only once. This feature is particularly useful in scenarios where you need to prevent duplicate entries and quickly check for the presence of an item.
Creating and Adding Values
To create a Set, you can simply instantiate it with the new keyword. You can add values using the add method:
const mySet = new Set();
mySet.add(1); // Set [1]
mySet.add(5); // Set [1, 5]
mySet.add(5); // Set still [1, 5], as '5' was already added
Checking Existence and Size
The has method checks if a value exists in the Set:
console.log(mySet.has(1)); // true
console.log(mySet.has(3)); // false
The size property returns the number of elements:
console.log(mySet.size); // 2
Removing Values
To remove a value, use the delete method:
mySet.delete(5); // removes '5' from the set
Iterating Over a Set
You can iterate over the elements of a Set using forEach or the for…of loop:
mySet.forEach((value) => {
  console.log(value);
});

// Or using for...of
for (let item of mySet) {
  console.log(item);
}
Now let’s use Set object to manage the selection status of our React table rows.
Application in Our React Table
We use the useState hook to manage selected rows. selectedItems will store the IDs of selected rows using a Set, providing efficient addition, removal, and lookup:
const [selectedItems, setSelectedItems] = useState<Set<number>>(new Set());
Step 3: Implementing Row Selection
We create a function, toggleItemSelection, which updates selectedItems based on user interaction. Using a Set ensures that each item is either selected or not, without duplicates. Also this lets us easily add or remove item IDs from the selection:
const toggleItemSelection = (dataId: number) => {
    const newSelection = new Set(selectedItems);
    if (selectedItems.has(dataId)) {
      newSelection.delete(dataId);
    } else {
      newSelection.add(dataId);
    }
    setSelectedItems(newSelection);
  };
Then every table data row is bind to toggleItemSelection
<tbody>
     {data.map((item) => (
       <tr key={item.id}>
         <td className="border px-4 py-2 text-gray-600">
           <input
             type="checkbox"
             value={item.id}
             className="form-checkbox h-5 w-5"
             checked={selectedItems.has(item.id)}
             onChange={() => toggleItemSelection(item.id)}
           />
         </td>
        <td className="p-4 border-b border-gray-200">{item.name}</td>
        <td className="p-4 border-b border-gray-200">{item.age}</td>
        <td className="p-4 border-b border-gray-200">{item.city}</td>
       </tr>
      ))}
</tbody>
Step 4: Adding Select All Functionality
A “Select All” checkbox at the header allows users to select or deselect all rows. The handleSelectAll function manages this behavior:
const handleSelectAll = (event: React.ChangeEvent<HTMLInputElement>) => {
    if (event.target.checked) {
      const allDataIds = new Set(data.map((item) => item.id));
      setSelectedItems(allDataIds);
    } else {
      setSelectedItems(new Set());
    }
};
<thead>
  <tr>
    <th className="p-4 bg-gray-100 border-b border-gray-200">
      <input
        className="form-checkbox h-5 w-5"
        type="checkbox"
        checked={selectedItems.size === data.length}
        onChange={handleSelectAll}
      />
    </th>
    <th className="p-4 bg-gray-100 border-b border-gray-200">Name</th>
    <th className="p-4 bg-gray-100 border-b border-gray-200">Age</th>
    <th className="p-4 bg-gray-100 border-b border-gray-200">City</th>
  </tr>
</thead>
Practical Usage in a Selectable Table
In the context of our selectable table in React, Set offers several benefits:
- Uniqueness: Ensures selected row IDs are unique, preventing bugs related to duplicate selections.
- Efficiency: Offers efficient add, delete, and lookup operations. This is crucial for performance when dealing with large datasets.
- Simplicity: Simplifies code for managing selections, as we don’t need to manually check for duplicates or iterate through arrays to add or remove items.
Tip
Set object is a powerful, underutilized collection type that can simplify data handling and improve performance in web applications. By applying Set in our React project, we streamline state management and enhance our application’s functionality.Final result would be like following.
Hope you will find this useful. Thanks for stopping by! Until next time, Peace ✌️